
Blog
Ruger 10/22 Chassis Installation Planning Guide

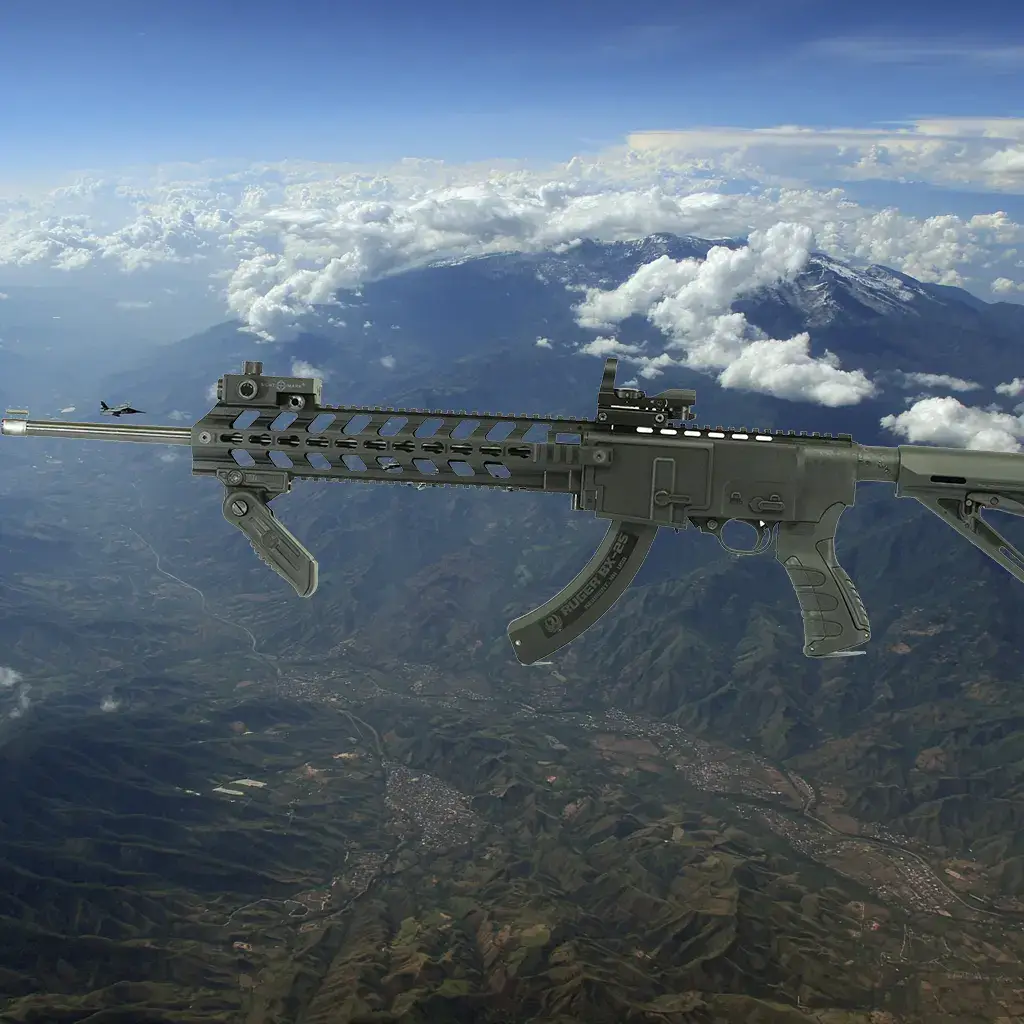
Ruger 10/22 Chassis Installation Planning Guide focuses on the practical questions a buyer should answer before choosing parts for a Ruger 10/22 build. The goal is to compare fit, materials, included components, and configuration requirements without relying on exaggerated performance claims.
Confirm the Exact Rifle Configuration
Start with the exact model, receiver type, and barrel profile. Standard Ruger 10/22 and Takedown configurations should not be assumed to use the same chassis fit. Aftermarket barrels and accessories can also change clearance requirements.
Check the Manufacturer's Fit Information
Use the current product specifications as the final compatibility reference. Confirm what is included, what is optional, and whether adapters or alternate hardware are required for the intended configuration.
Gungner Option
For the configuration assigned to this topic, review the current product page: https://gungnerinc.com/product/ruger-1022-chassis-a2/. Check the latest compatibility, included components, pricing, and product specifications there before ordering.
Practical Checklist
Confirm the rifle model; identify the barrel profile; verify receiver fit; check stock and grip interfaces; review optics and accessory mounting; confirm included hardware; and make sure any optional adapters are appropriate for the intended setup.
Follow the firearm and component manufacturers’ instructions and applicable laws when installing or configuring firearm components.
Ruger 10/22 Chassis Installation Planning Guide: Buyer and Compatibility Guide
This expanded guide focuses on installation planning without forcing fit. The objective is to make the page useful for a buyer comparing a real Ruger 10/22 configuration, not simply to repeat a keyword. The questions below are organized around fit, interfaces, package contents, weight, and the parts that must work together. Where product options can change, the current Gungner product page remains the final reference before ordering.
Separate Planning From Installation Instructions
For ruger 10/22 chassis installation, the blog should help confirm that the planned components belong together before work begins. The manufacturer’s current assembly documentation should then be used for the actual installation. If a component does not align, seat, or match the listed interface, stop and re-check the configuration rather than forcing the fit.
This distinction keeps the buying guide useful without turning it into a substitute for technical instructions. It also reduces the chance that guidance written for one revision or configuration is incorrectly applied to another.
Key Decision Points for This Topic
- Verify the receiver configuration, barrel profile, stock interface, grip interface, and included hardware before beginning work.
- Lay out the components and compare them with the manufacturer's current parts list so missing or duplicate hardware is identified early.
- Use the manufacturer's current assembly instructions for the exact product rather than substituting a general blog article for technical documentation.
- If a component does not align or seat as expected, stop and re-check compatibility instead of forcing the fit.
- Keep the work area organized so original hardware and replacement hardware do not become mixed.
- For unfamiliar fitting or mechanical work, use a qualified gunsmith rather than improvising a modification.
Verify the receiver configuration, barrel profile, stock interface, grip interface, and included hardware before beginning work.
Verify the receiver configuration, barrel profile, stock interface, grip interface, and included hardware before beginning work. Treat this as a separate decision point and verify it against the current product information before ordering. That keeps the final configuration based on confirmed interfaces and package contents rather than assumptions from photographs or broad model names.
Lay out the components and compare them with the manufacturer's current parts list so missing or duplicate hardware is identified early.
Lay out the components and compare them with the manufacturer's current parts list so missing or duplicate hardware is identified early. Treat this as a separate decision point and verify it against the current product information before ordering. That keeps the final configuration based on confirmed interfaces and package contents rather than assumptions from photographs or broad model names.
Use the manufacturer's current assembly instructions for the exact product rather than substituting a general blog article for technical documentation.
Use the manufacturer's current assembly instructions for the exact product rather than substituting a general blog article for technical documentation. Treat this as a separate decision point and verify it against the current product information before ordering. That keeps the final configuration based on confirmed interfaces and package contents rather than assumptions from photographs or broad model names.
If a component does not align or seat as expected, stop and re-check compatibility instead of forcing the fit.
If a component does not align or seat as expected, stop and re-check compatibility instead of forcing the fit. Treat this as a separate decision point and verify it against the current product information before ordering. That keeps the final configuration based on confirmed interfaces and package contents rather than assumptions from photographs or broad model names.
Package Contents and Total Build Cost
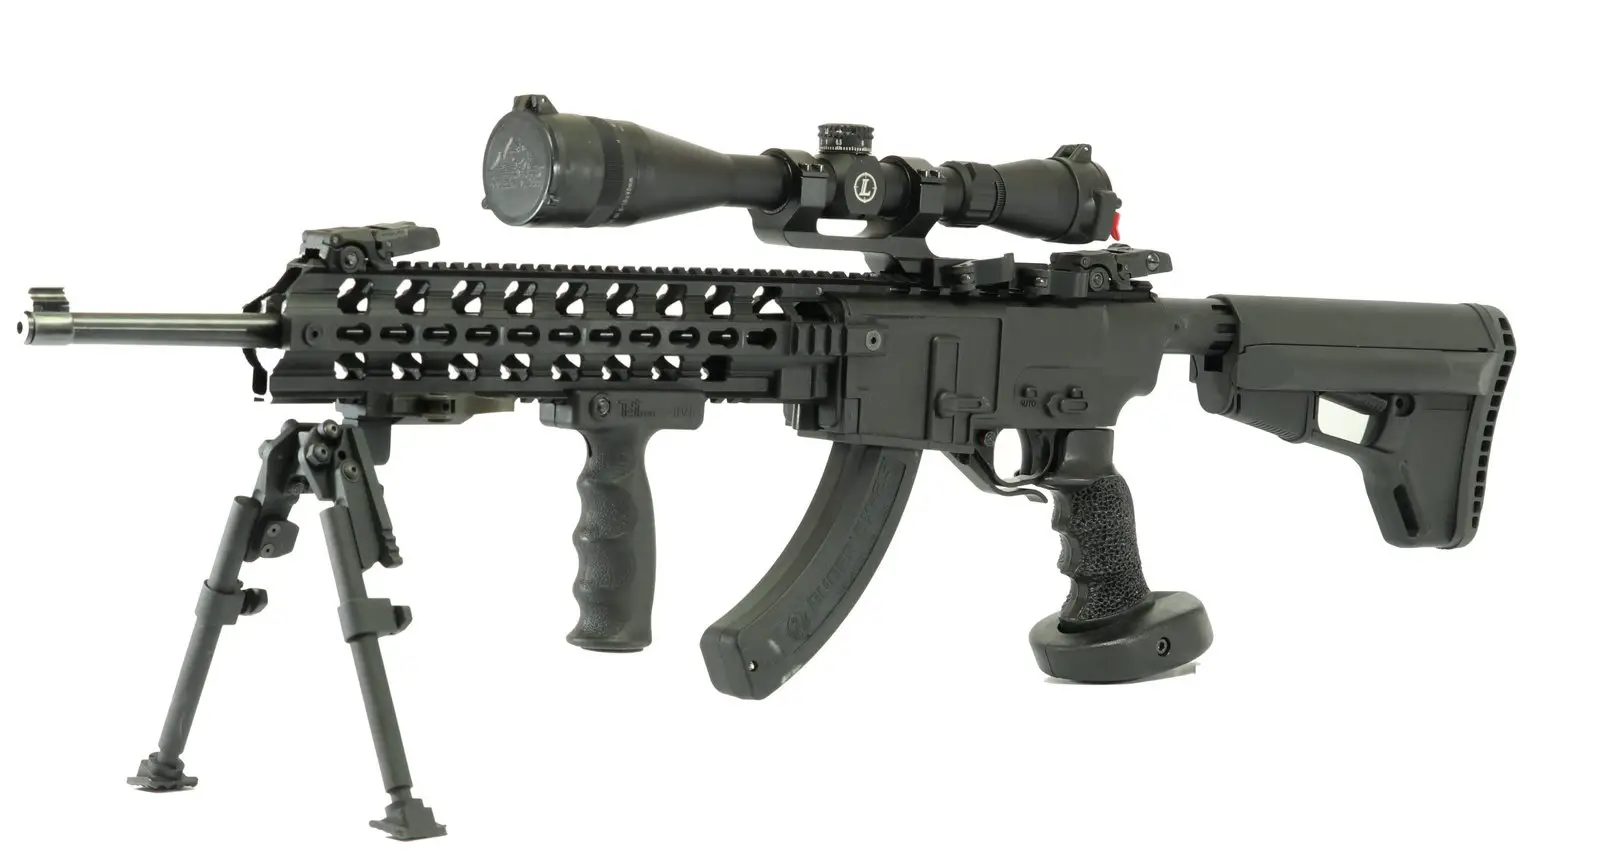
A chassis-related purchase should be evaluated as a complete configuration. Check whether the listing includes only the chassis body or also includes a stock, grip, grip block, adapter, fasteners, or other hardware. Product photography can show a configured example, so photographs should not be used as the only evidence of what arrives in the box. Compare the written package contents with the parts already owned and make a short list of anything still required.
Total cost is more useful than the starting price. A lower-cost bare chassis can be the efficient choice when compatible components are already available, while a kit can be simpler when the included parts match the intended build. The correct answer depends on the existing parts inventory, not on a universal ranking of one package type over another.
Weight, Balance, and Accessory Discipline
Published component weight is useful, but the completed configuration is what the user actually handles. Barrel, stock, grip, optic, mounts, and accessories can change both total weight and where that weight is located. When a lightweight setup is the goal, record the weight of the complete planned parts list rather than optimizing one component while adding several optional accessories elsewhere.
Accessory mounting should follow the same discipline. Start with the optic and the accessories that serve a defined purpose. Confirm the mounting interface and available space, then add only what supports the intended configuration. More mounting locations are useful because they create options; they do not require every location to be filled.
Common Mistakes to Avoid
- Beginning installation before checking the complete parts list.
- Using instructions for a different chassis revision or configuration.
- Forcing a part when alignment indicates a compatibility problem.
- Treating a buying guide as a substitute for manufacturer assembly documentation.
These mistakes share the same pattern: one visible feature is used as a shortcut for a complete compatibility check. A safer buying process separates receiver fit, barrel fit, stock and grip interfaces, optics mounting, adapters, package contents, and current product specifications. If any one of those items is uncertain, resolve it before ordering or attempting installation.
Frequently Asked Questions
Does changing to a chassis guarantee better accuracy?
No. A chassis changes the mounting platform, ergonomics, modularity, and available component interfaces, but it should not be presented as a guaranteed accuracy improvement. Shooting results depend on the complete rifle, ammunition, barrel, optic, assembly, condition, and shooter.
Can I assume every Ruger 10/22 configuration fits the same parts?
No. The Ruger 10/22 name identifies a product family, not a promise that every receiver configuration, barrel profile, stock, grip, adapter, and accessory combination is interchangeable. Check the exact configuration and current manufacturer compatibility information.
Should I buy a complete kit or reuse parts I already own?
Inventory the existing compatible components first. Reusing a stock, grip, optic, or other compatible part can avoid duplicate purchases. A complete kit can make planning simpler when its included components match the intended setup. Compare the written package contents and total finished cost.
What should I do if a part does not appear to fit?
Do not force the component. Re-check the receiver configuration, barrel profile, interfaces, adapters, and the manufacturer’s current documentation. For unfamiliar fitting or mechanical work, use a qualified gunsmith.
Where should I verify current specifications?
Use the current product listing and manufacturer documentation because available options, package contents, and compatibility notes can change. This article is a planning guide, not a replacement for current product specifications or assembly instructions.
For the current configuration assigned to this topic, review CHASSIS SYSTEM FOR RUGER 10/22 w A2 Grip. Check its current compatibility notes, product images, package contents, pricing, and specifications before ordering.
Editorial standard: This page is written to support purchasing and compatibility decisions without fictional stories, unsupported performance guarantees, or claims that a chassis change automatically improves accuracy.